Register: Difference between revisions
mNo edit summary |
mNo edit summary |
||
| Line 11: | Line 11: | ||
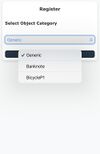
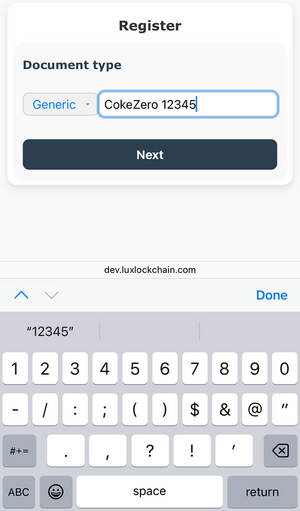
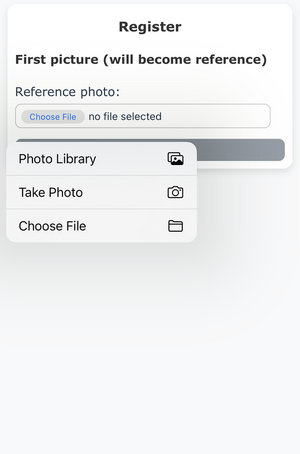
[[File:768_-1_Register_Start_IMG_9363.jpg|100 px]] [[File:Arrow_Right_64_R.png|20 px]] [[File:768 -2 Register Assign AssetID IMG 9364.png|300 px]] [[File:Arrow_Right_64_R.png]] [[File:768 -3 Register Take first picture IMG 9284.png|300 px]] </div> | [[File:768_-1_Register_Start_IMG_9363.jpg|100 px]] [[File:Arrow_Right_64_R.png|20 px]] [[File:768 -2 Register Assign AssetID IMG 9364.png|300 px]] [[File:Arrow_Right_64_R.png]] [[File:768 -3 Register Take first picture IMG 9284.png|300 px]] </div> | ||
!You will need to assign a AssetId and it must be unique, if rejected because already in use you should use another name for it. | !You will need to assign a AssetId and it must be unique, if rejected because already in use you should use another name for it. | ||
Once a good Asset Id is setup "Next" will show you a picture selector. | |||
Either use an existing picture or use imbedded web camera with "Take Photo". | Either use an existing picture or use imbedded web camera with "Take Photo". | ||
Revision as of 01:26, 11 October 2025
Register
Is the process allowing to register your Asset in the blockchain trough images.
To do so, select "Register" in the "Burger" menu
Register "Generic"
Assign a unique AssetId name, the next will ask you to load a picture.
| You will need to assign a AssetId and it must be unique, if rejected because already in use you should use another name for it.
Once a good Asset Id is setup "Next" will show you a picture selector. Either use an existing picture or use imbedded web camera with "Take Photo". |
|---|
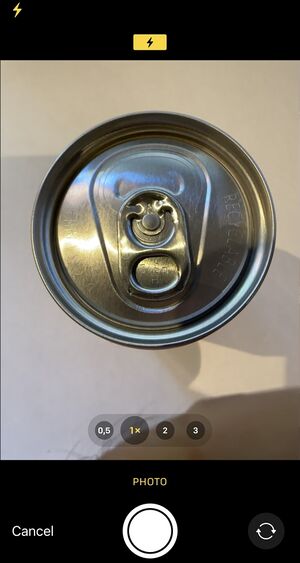
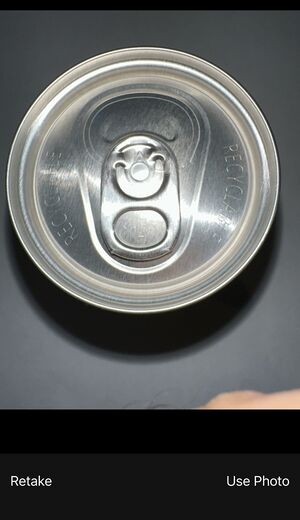
Camera
Here using the internal camera, notice the "Flash" on and it's effect on the taken photo.
Tips:
Use a Camera Apps like "Appollo Layer Camera" and take your 3 photos in advance, this apps allow to keep previous image and display it as a transparent 'layer' ensuring a better reproducibility of your images.
Tips:
How to make good picture
| Center the object and try to be as close as possible while staying sharp
In case of doubt always use Flash to normalize lighting condition. |
|---|
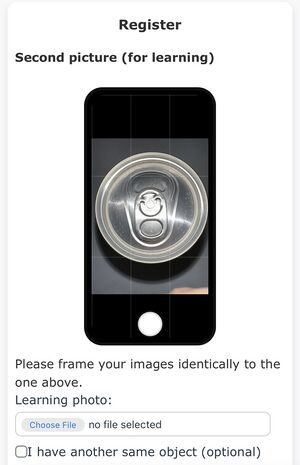
Learning phase:
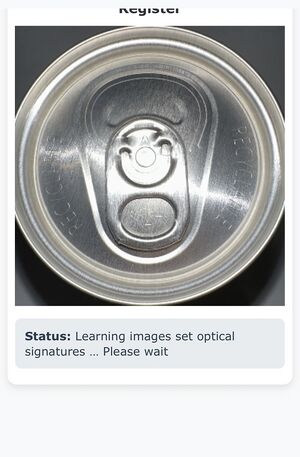
Take a second picture, used to learn Optical signatures.
| use the same framing and point of view as the previous one, and don't forget to setup the flash. |
|---|
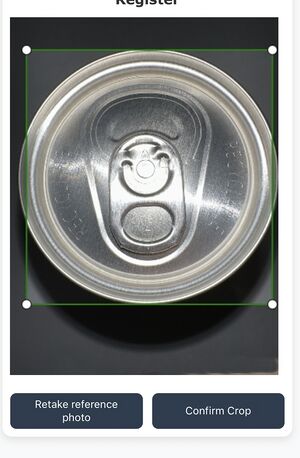
Crop phase:
See your reference image and decide if the suggested area of interest is optimal (in case of doubt, leave it as is)
| Optical signature will only de searched for in crop area, keep default, or restrict it if you have a good reason to avoid area which is too fuzzy, too wooly, overexposed or even change like a liquid. |
|---|
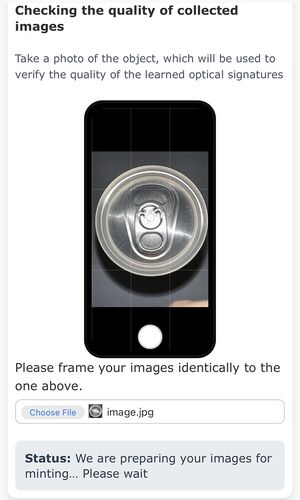
Proofing your set
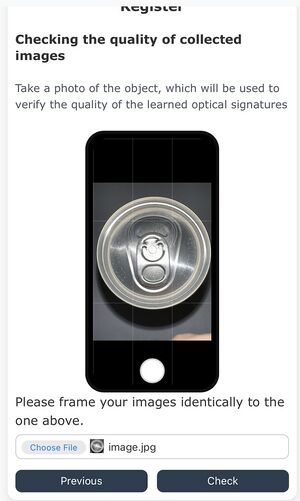
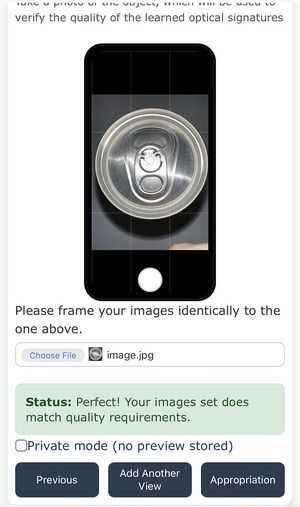
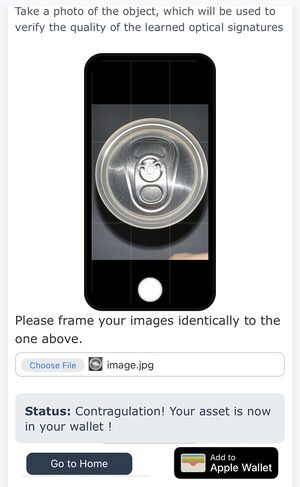
A third image will be asked to verify that Signature set are working fine Either you get green sucessfull messages or a yellow message with suggestion to improve you set (common errors are fuzzy images or missing flash)
| again use the same format as the previous one, and don't forget to setup flash. |
|---|
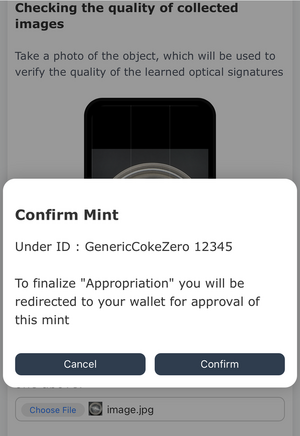
Appropriation
Upon confirmation that the set is usable, time to 'mint it' (put it in the blockchain)
| Use the "appropriation" button to register it in the blockchain, then "Confirm" to ask for registration. |
|---|
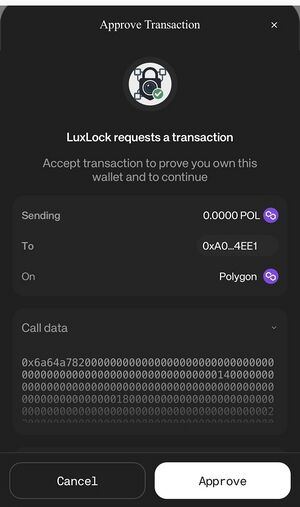
Loading it in your Wallet
Once "Confirm" is pressed, it will call the wallet asking for approval of the transaction
| Here depicted is AppleId Wallet (GoogleID wallet have a similar UI)
Other wallet chosen during "Connect Wallet" phase have similar features. |
|---|
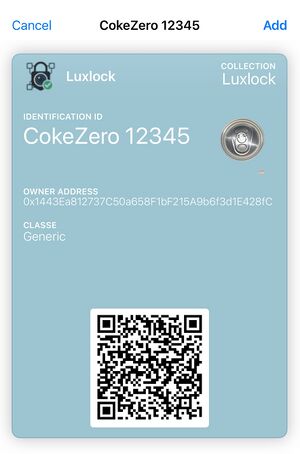
Optional Apple card
you can to keep a Apple Wallet card with information about your Asset,
